Skip to content

Adjustment of the appearance of the “Burger” header area

Opening the model group for the “Burger” header area

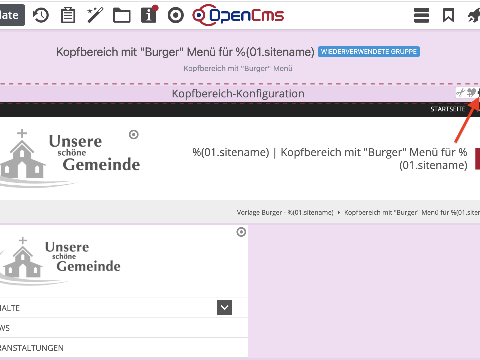
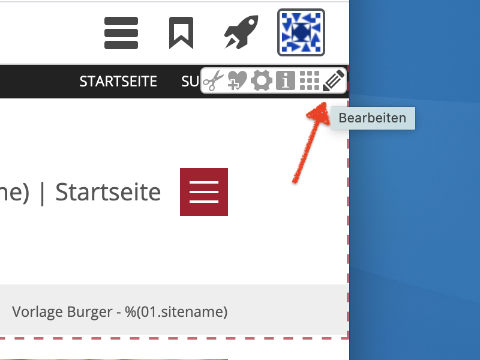
The display of the “Burger” header area can be flexibly customized. To customize the display, open the model group Model group with "Burger" menu for header area. This is already created in the copy template and is used in the upper page area.

Click on the OpenCms icon in the upper right corner to edit the model group. This opens the model group editor for the header area.

Opening the header configuration for the “Burger” menu

Open the element settings for the header configuration to adjust the basic display options.

Some options are also controlled directly via the settings for the elements used in the header.

Element settings for the “Burger” menu

In the header element settings, for example, you can position the logo on the right or left. The “burger” menu is automatically displayed on the opposite side.

There are also various other settings for displaying additional service links, an extra container, etc.

Icons and/or text links can either be grouped under a “Service Links” menu item in the burger menu or displayed directly at the top level.

Open service links element settings for the burger menu

In the editor for the “Burger” header area, the burger menu is always displayed expanded at the bottom of the screen. Open the element settings here.

Settings options for the service links in the “Burger” menu

In the element settings, you can now select where the service links should be displayed.

Burger menu with service links and service icons at the top level

The example screenshot shows the layout of the service links and icons at the top level.